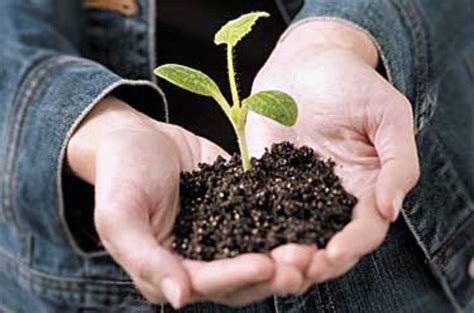
As stated in the first part of this series, decide what you want to plant, where and for which purpose. This helps you prepare and acquire the right materials and tools to do it right. If you don't have seeding trays, you can use shallow small containers: cleaned small yogurt pots, small jars, etc. Make sure the seedlings get enough warmth, preferably from the sun. And place them away from pets or any feral animals. You might need to cover them for their safety. I prefer to leave mine in the open and I start them when the weather stabilizes in the early spring days. You can however start yours indoors by the end of the winter already and then take them out when milder temperatures are available.
Seeds are not always simple to grow. Follow the instructions provided on their pack to make sure you are undergoing this operation at the right time for the specific plant and the appropriate environment is provided. This ensures the best possible result. The seeds need to be in full contact with the soil. There are several methods to proceed. Some will rake the plot to be planted, then insert one seed at a time, cover it, and go over the area with a small roller before watering it. Others resort to machinery. This is recommended when you are seeding large areas. You don't have to be that technical. Once you have prepared the space, sprinkle the seeds, add some compost or starter fertilizer, and cover the area with some peat moss. Make sure you don't use too much of the latter. The seeds only need to be protected from birds or other animals and insects until they have sprouted. Being in touch with the soil and its nutrients while being shielded from predators will permit sane sprouting.
Keep the seeded area moist, not drowned. Unless you are planting water lilies or similar flora. Depending on your location, and how fast you want the seeds to germinate, you might need to water them once or twice a day. Make sure the soil is not muddy. Just provide enough warmth and humidity. Keep the name of what you have planted to be used as a label or create your own to differentiate between the sprouts. When the plants grow tall, about 4-5 centimeters, they need to be individually transplanted in their final spot to grow their roots and stems. To do that, reduce the watering gradually, try to keep the roots intact when gently tucking the seedling out by its leaves, place it in the new hole, add some peat moss or compost mix, pat the soil gently, and water. Air circulation should be smooth, strong air currents and cold temperatures are usually not recommended.
Happy gardening!

